
Superhero Capes. No Sew for $1.60 per cape.
- Jul 31, 2015
- 3 min read
My son is very interested in superheroes. His questions are pretty hilarious, but last night he told me that Spiderman became a superhero when he changed his clothes. If only it were that simple.
Well, maybe it is that simple. And, now my mind has wandered off to my strive for greatness.
But, I did indulge his love of superheros and my love of quick, cheap projects by creating these adorable capes.

Here is what I made for my little United States President-to-be. Again, if you read my blog regularly, you understand that I am not one for lots of detail. I researched how other people did this and created my own way.
I did this quicker, more easily and cheaper. And, NO SEWING!
Supplies needed for toddler-sized superhero capes:
1.5 yards of fleece for two capes ($2.99 a yard at Wal-Mart and their color options were pretty decent)
Some ribbon (I used some hearty ribbon so it didn't fray). Don't worry about size of ribbon--you will cut the slits based on the size you purchase.
Some felt. Wal-Mart had a good variety of colors of felt. Each large square was $.23.
Some good scissors.
Some fabric glue. I found some at the Everything's a Dollar store and it worked very well!
About 15 minutes (maybe less) to make each cape.
If you can't free hand the letters like I did, you might need a stencil. (For $.23 a square of felt, I figured I could afford a few mistakes and forego the stencils).
Making the Cape
Sometimes I say things are easy, and they are really only easy for me. But, these were actually very easy to make. Really, keep reading below.
Using the fleece allows you to cut very easily and without sewing. No frayed ends.
Step 1
Cut the 1.5 yards in half or in thirds (depending on the size of toddlers). I did both because we had some little ones and it was so cute to see them in a cape. I even made one for a newborn).
Test for the length of the cape as well. You might need to trim the bottom a little.
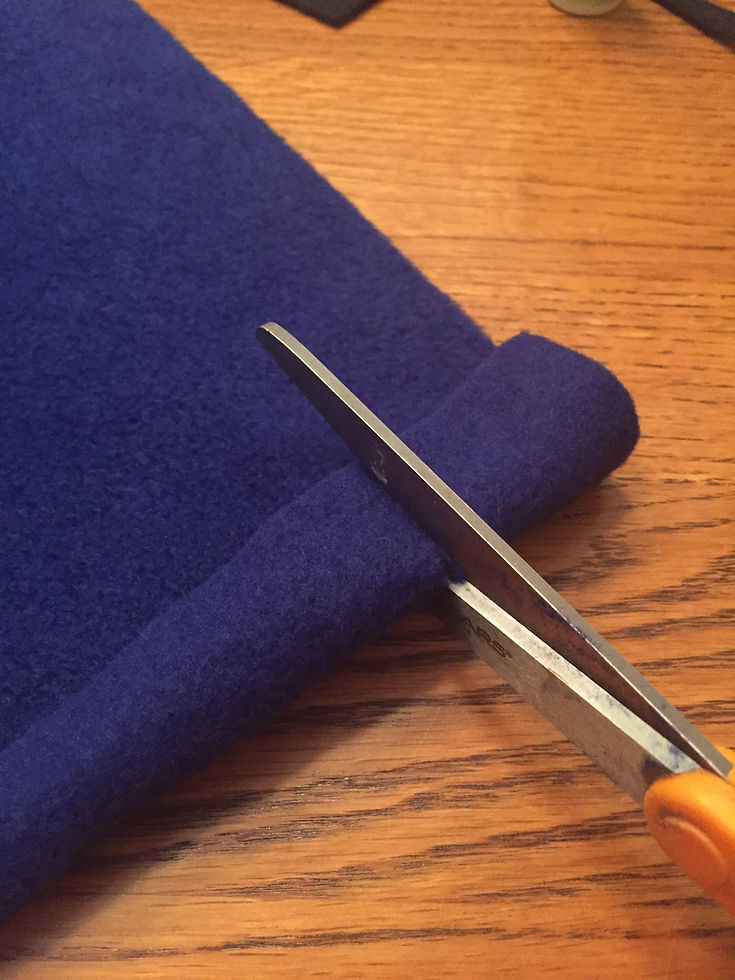
Step 2
At the top of the cape, fold the edge over about an inch and cut slits so you can weave the ribbon in and out. You can adjust the size based on the size of ribbon you purchased.
Step 3
Cut your ribbon. I used the top of the cape to size my ribbon...just two lengths was perfect for the kids!
Step 4
Weave the ribbon in and out of the slits you created.
Step 5
Use the square of felt to cut out shapes or the initial of the child.

Step 6
Glue to the cape. It was best when I did this on the upper middle half of the cape.
Step 7
Lay it out to dry on a flat surface
Step 8
Loosely tie around the child and enjoy!
At the Party
The kids really did enjoy these and there were so cheap to make. I didn't even buy party favors because the capes were enough. At $1.60 per cape, I was pretty proud of myself.
We had a great party, and the kids were so tired afterward. We also engaged in a little water fight. I am not the only in my family that loves parties!


Comments